- Start Blender and remove the default cube (select it and press key: x)
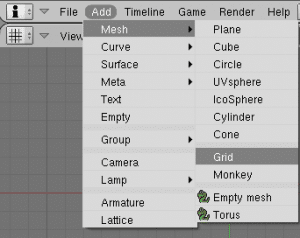
- Add a grid to the scene: Add->Mesh->Grid.
32×32 segments works good for smaller grids
- Select the Shading panel (F5) and go into Material edit mode (the round sphere icon)
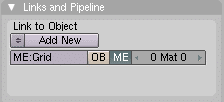
- Click on “Add New”under the Link to Object
This opens up a new pane
- Switch to the Edit Texture mode (F6)
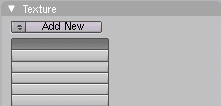
- In the Texture pane click the “Add New” button
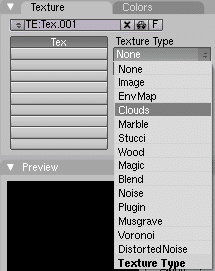
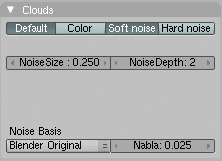
- Select Clouds as the texture type
- Now you can adjust the Clouds settings if you want. I will stay with defaults here
- Now switch back to Material Edit mode (the red sphere icon)
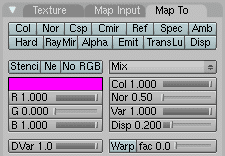
- Close to the Texture pane there is now a Map to pane – open it
- All buttons in the Map to pane should be off
- Now switch to the Edit pane (F9) and enter Edit mode (TAB). All vertices in your grid should now be selected
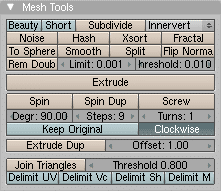
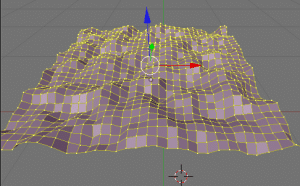
- In the Mesh Tools pane click the Noise button
(if you want more height just keep clicking the Noise button)
- Now you are done
Tested in Blender 2.49


Comments are closed.